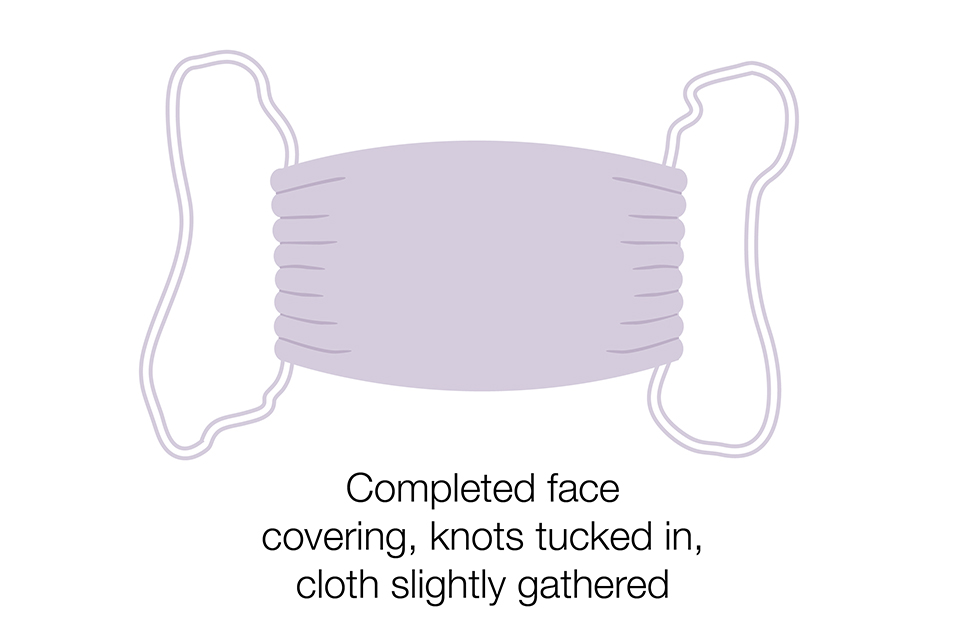
A cloth face covering should cover your mouth and nose while allowing you to breathe comfortably. It can be as simple as a scarf or bandana that ties behind the head.
Wash your hands or use hand sanitiser before putting it on and after taking it off. Avoid touching your eyes, nose, or mouth at all times and store used face coverings in a plastic bag until you have an opportunity to wash them.
Do not touch the front of the face covering, or the part of the face covering that has been in contact with your mouth and nose. Once removed, make sure you clean any surfaces the face covering has touched.
You should wash a face covering regularly. It can go in with other laundry, using your normal detergent.
When wearing a face covering, take care to tuck away any loose ends.
Face coverings should not be used by children under the age of 3 or those who may find it difficult to manage them correctly. For example, primary age children unassisted, or those with respiratory conditions.
How to make a face mask with a sock in five easy steps
Once you have an even distance between the top of the sock and the foot from the heel, slice the sock down the side and this opens it up.
Holding it so it forms a rough rectangle with the heel in the centre, you then fold it in half horizontally.
This information is a guide to making a simple face covering. We do not endorse any particular method and other instructions are widely available online. Always take care to use equipment safely to avoid injury. Children should only follow these instructions under the supervision of adults.

Making your own face covering
Using a T-shirt
You will need:
- an old T-shirt that you do not want anymore (ideally size small or extra small)
- scissors
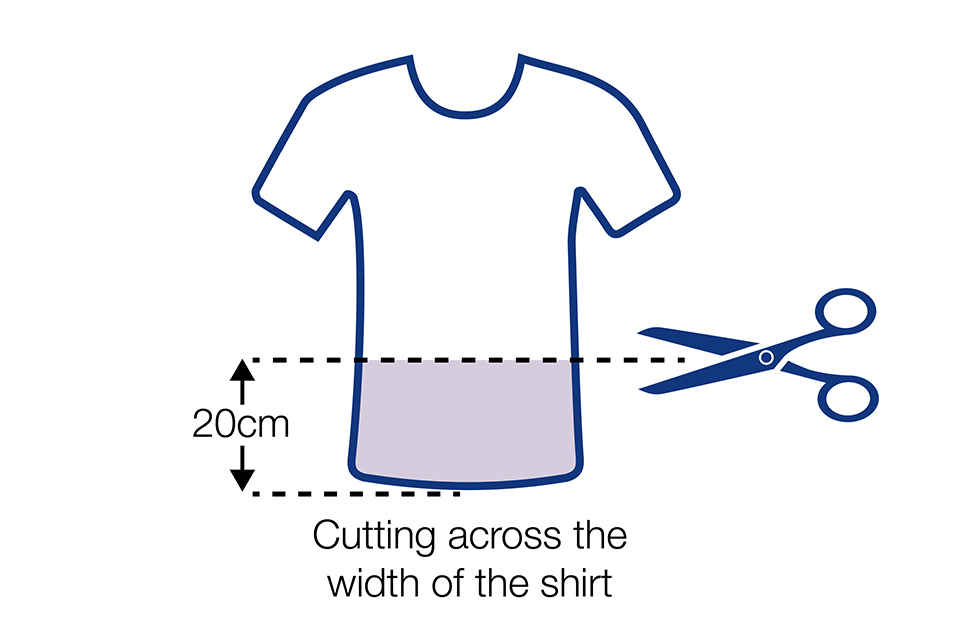
Step 1: Cut a straight line across the width of the T-shirt (front and back) approximately 20cm from the bottom of the T-shirt.
Step 2: From a point 2cm below the top right-hand corner of the fabric, make a 15cm horizontal cut through both sides of the fabric that is parallel to the top of the rectangle.
Step 3: Cut down towards the bottom of the fabric until you reach approximately 2cm above the bottom edge. From here, make another 15cm cut that runs parallel to the bottom of the fabric to make a rectangle that can be discarded.
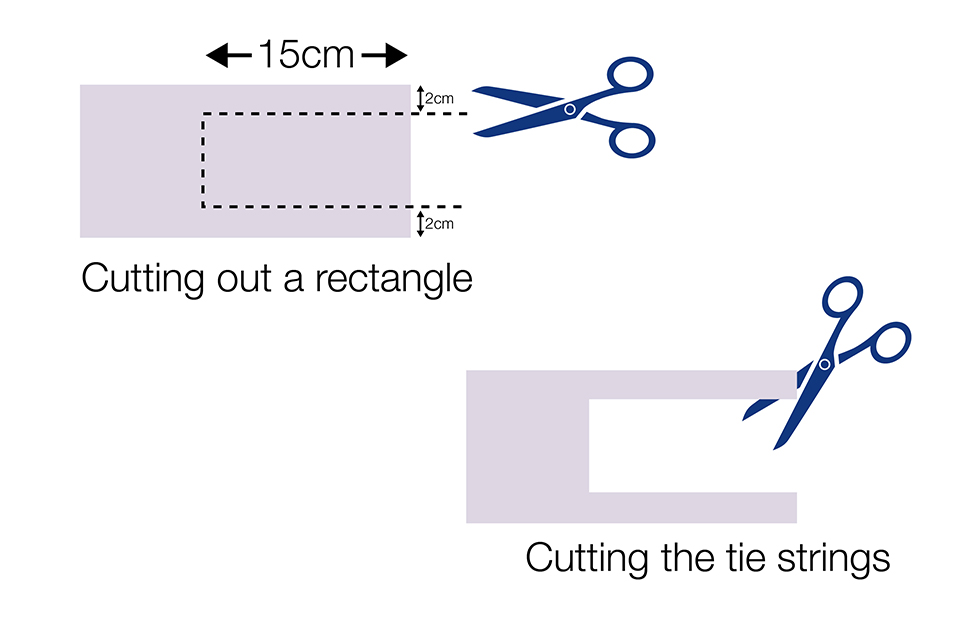
Step 4: To make the ties, cut open the edge of the 2 long strips of fabric. Unfold the main piece of fabric and place over the mouth and the nose. The 4 strips act as ties to hold the cloth face covering in place and should be tied behind the head and around the neck.
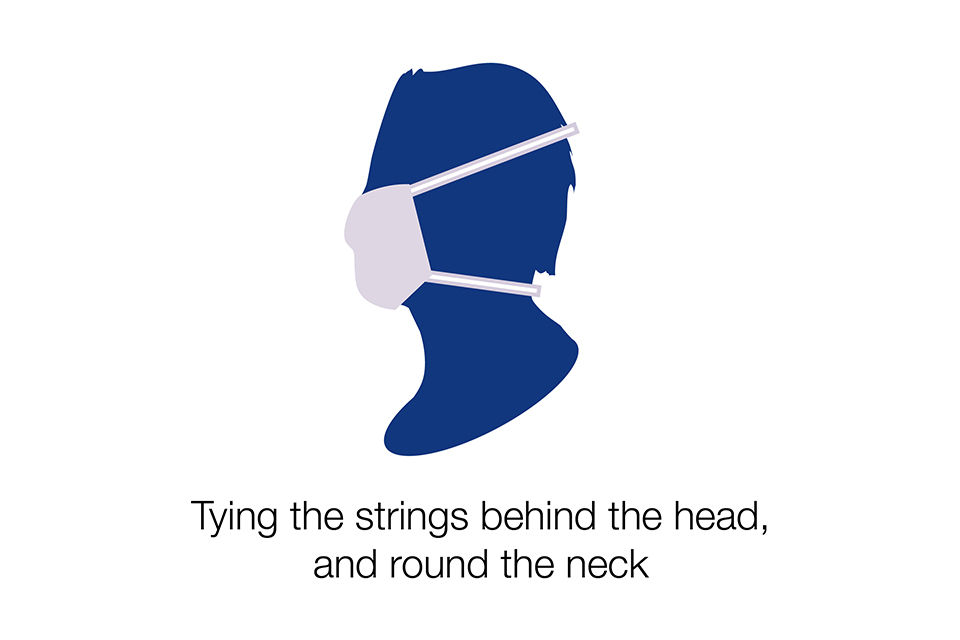
A sewn cloth face covering
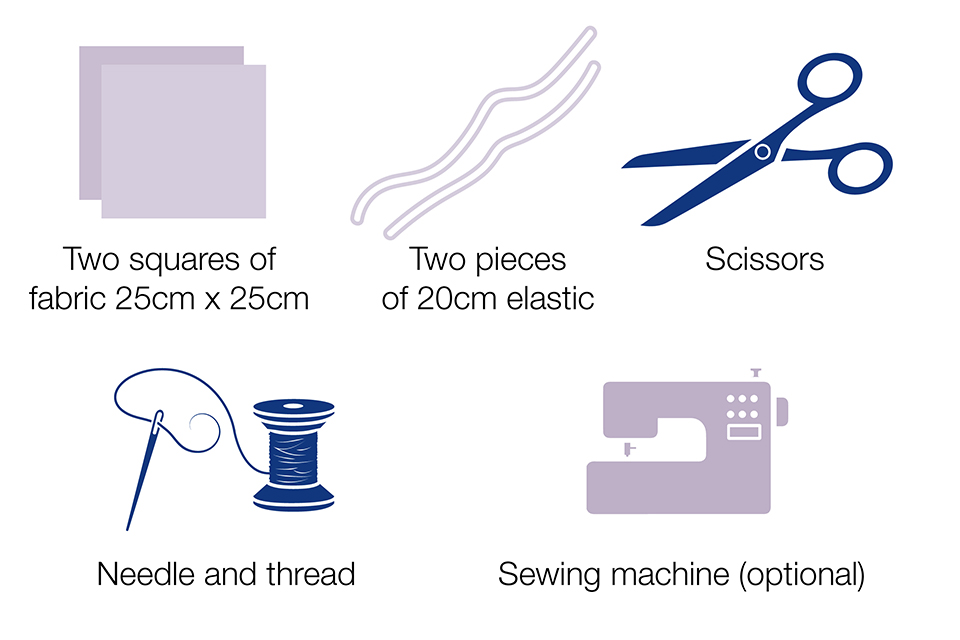
You will need:
- two 25cm x 25cm squares of cotton fabric
- two 20cm pieces of elastic (or string or cloth strips)
- needle and thread
- scissors
Step 1: Cut out two 25cm x 25cm squares of cotton fabric. Stack the 2 squares on top of each other.
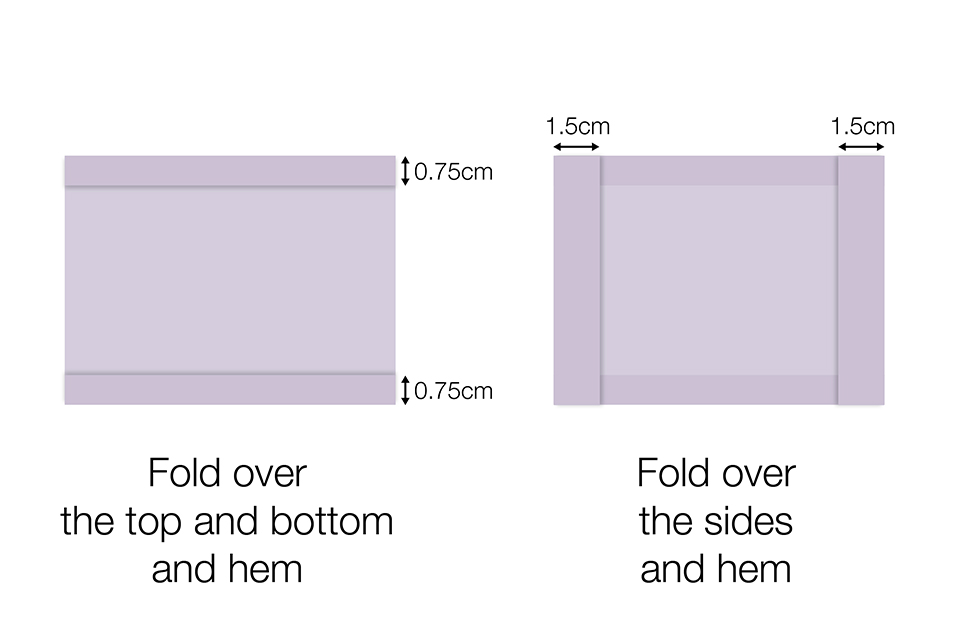
Step 2: Fold over one side by 0.75cm and hem, then repeat on the opposite side. Make 2 channels by folding the double layer of fabric over 1.5cm along each side and stitching this down.
Step 3: Run a 20cm length of elastic (or string or cloth strip) through the wider hem on each side of the face covering. These will be the ear loops. Use a large needle to thread it through. Tie the ends tightly.
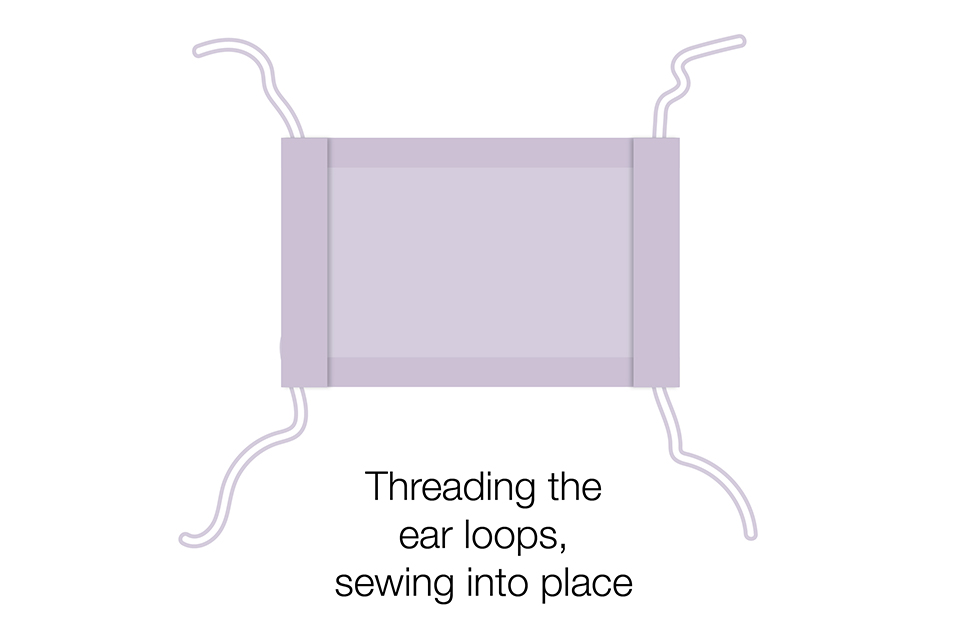
If you only have string, you can make the ties longer and tie the covering behind your head.
Step 4: Gently pull on the elastic so that the knots are tucked inside the hem. Gather the sides of the covering on the elastic and adjust so the covering fits your face. Then securely stitch the elastic in place to keep it from slipping. These elastic loops fit over the ears.
